If you want to create a report in 5 mins, you should follow this tutorial.
All requirement software can be found there. I installed the following:
The tutorial instructs you how to create the report (RDL file): how to define the data source, layout and how to preview the report.
Once you’re done, you can use Report Manager to deploy the report. In my environment Report Manager is available at http://localhost/Reports$SQLExpress and looks as below:
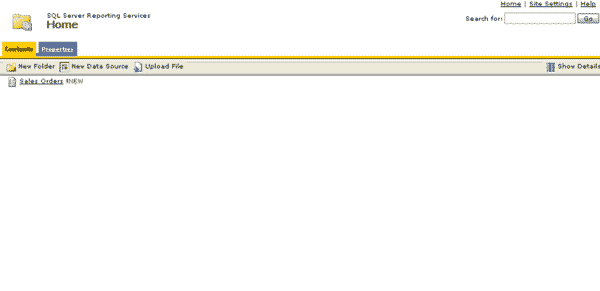
It is possible that Report Manager is available at a different URL on your machine. To check the URL go to Control PanelAdministrative Tools, then Internet Information Services (this is how to get this screen under Windows XP). On the window you get expand Internet Information ServicesXXX (local computer)Web SitesDefault Web Sites. You should see anything that is similar to Reports and ReportServer. As I described before, in my case those virtual directories were named with $SQLExpress suffix at the end.
Anyway, once you get to the Report Manger, click Upload File button. In the new screen choose the file to upload (RDL file you’ve created with the tutorial). Then in main screen of Report Manager select the report you’ve added. Now you should see the report. As the ouput is long, it is paginated so you can use Previuos Page and Next Page buttons to show different parts of the report. You can also choose the format in which the report is presented; by default you can view it in the following formats:
- embedded in the website
- PDF file
- Excel file
That’s all. Now you can create any report you want.