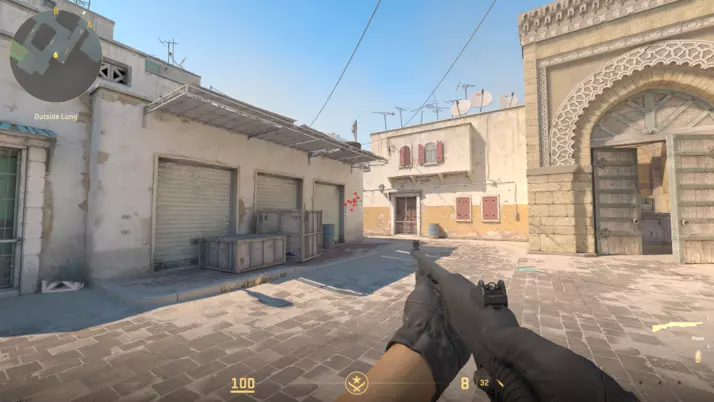
Setting up a dedicated server for CS2 (Counter Strike 2) enhances your gaming experience by providing control over game sessions. Unlike public community servers, a private CS2 server allows you to decide who joins, customize maps, customize skins and tweak game settings. Follow this guide to establish your dedicated CS2 server on Windows via Steam or SteamCMD using Valve’s CS2 dedicated server app.
Why Choose a Dedicated Server for CS2?
Creating your CS2 server offers extensive game control, allowing private online sessions and customization of maps and game settings. While it’s possible to host a server on your Windows computer, professional server hosting provides stability and performance crucial for an optimal gaming experience.
Requirements for a Counter Strike 2 Server
A stable CS2 server requires high-performance hardware. The minimum requirements include a CPU with a minimum of 3.0 GHz (quad-core), 6 GB RAM, and 50 GB of hard disk space. Specific operating system requirements apply, and for Windows Server 2022, additional resources such as a 1.4 GHz processor, 512 MB or 2 GB memory, and 32 or 36 GB hard disk space are necessary.
CS2 Server Rental Options with IONOS
IONOS offers various server solutions suitable for hosting your CS2 server, including VPS (vServer), Cloud Server, and Dedicated Server. Choose a plan that aligns with your needs, with options for different player capacities and server uptime.
How to Set Up a Counter Strike 2 Server
- Establish a Remote Connection to the Server:
- Access your rented server hardware via a remote desktop connection, set up through the IONOS Customer Account.
- Install SteamCMD:
- Download and install SteamCMD, a command-line client that simplifies the installation of the CS2 dedicated server application.
- Install CS2 Dedicated Server:
- Use SteamCMD to create an installation directory for your CS2 server and install both CS2 and the dedicated server application.
- Configure the CS2 Server:
- Define basic configurations for your CS2 server by editing the server.cfg file found in the server directory.
- Generate Server Token:
- Link your dedicated server with a login token to appear in the listing of available community servers. Create this token through the Steam game server account management.
- Open Server Ports:
- Open server ports 27015 and 27016 (TCP/UDP) to enable connections to your CS2 server. Adjust firewall settings via the IONOS Customer Account.
- Start Counter Strike 2 Server:
- Create a batch script or execute the command sequence directly to start your dedicated CS2 server.
- Connect to the CS2 Server:
- Launch Counter Strike 2, open the server browser, and connect to your dedicated server either by searching or manually adding the IP address.
Enjoy your CS2 gaming experience on your dedicated server, whether in training mode or exploring various game modes with friends!

